Installation
Customer Fields can be activated on a theme by enabling our app embed inside Shopify’s theme editor.
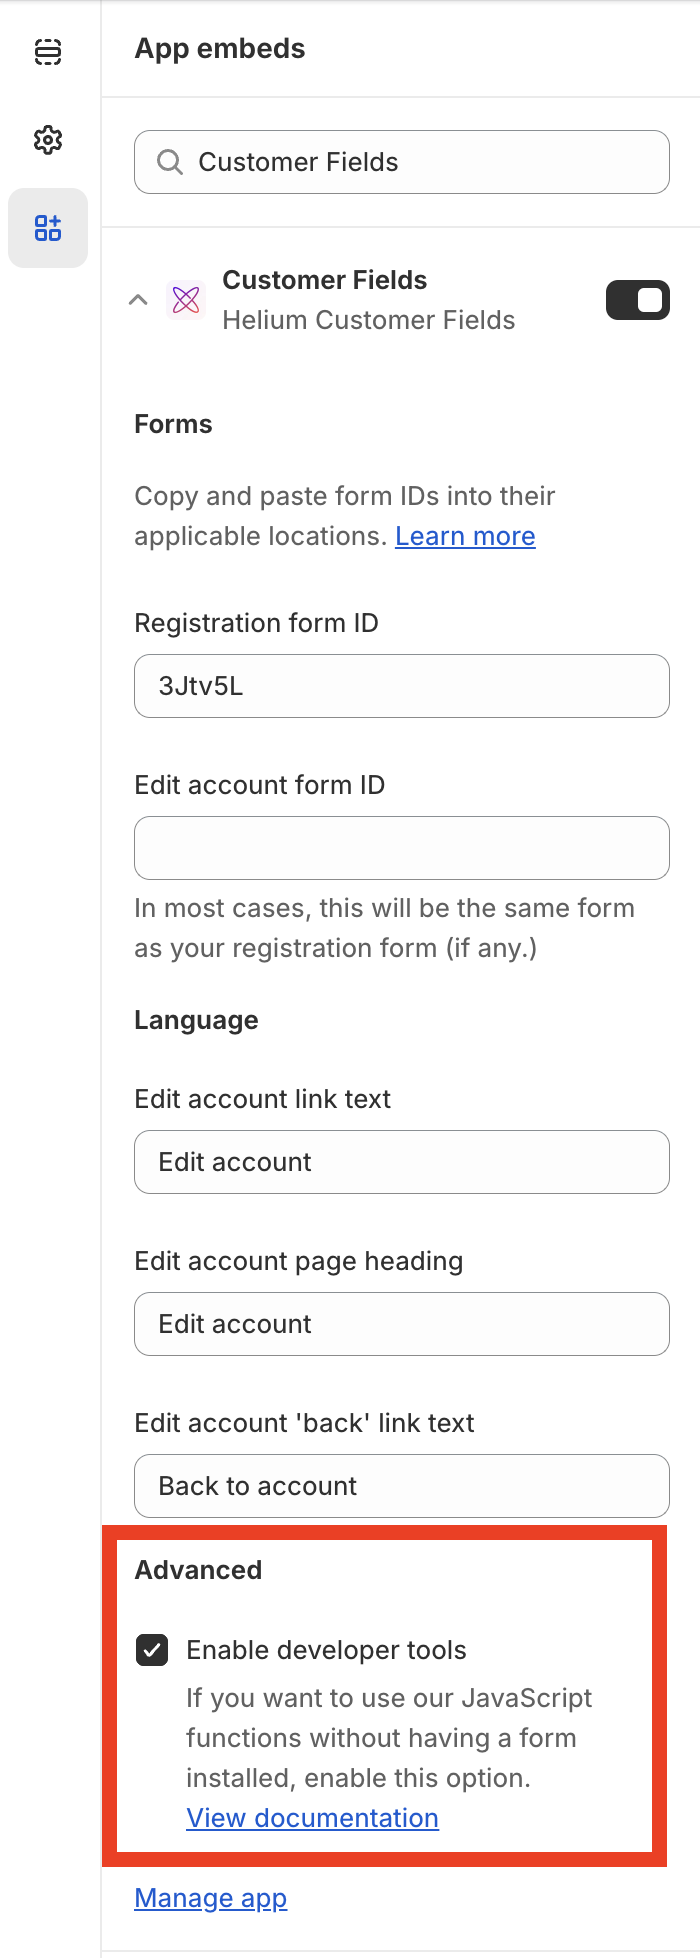
Enabling developer tools results in our JS Customer API being loaded on every page on the storefront outside of checkout. The script is quite small (~24 KB as of Dec 12, 2022) and is cached by our CDN, resulting in the quickest load times after the first initial load.
Also see our help center article for more details.
Next up: Data columns
Liquid installation
Do you have an older installation that you need to maintain? Check out our liquid installation docs.